EGG KAMADO 22 inch DEEP Grey with Trolley Smoker Charcoal Outdoors Grill Egg Bbq Grills
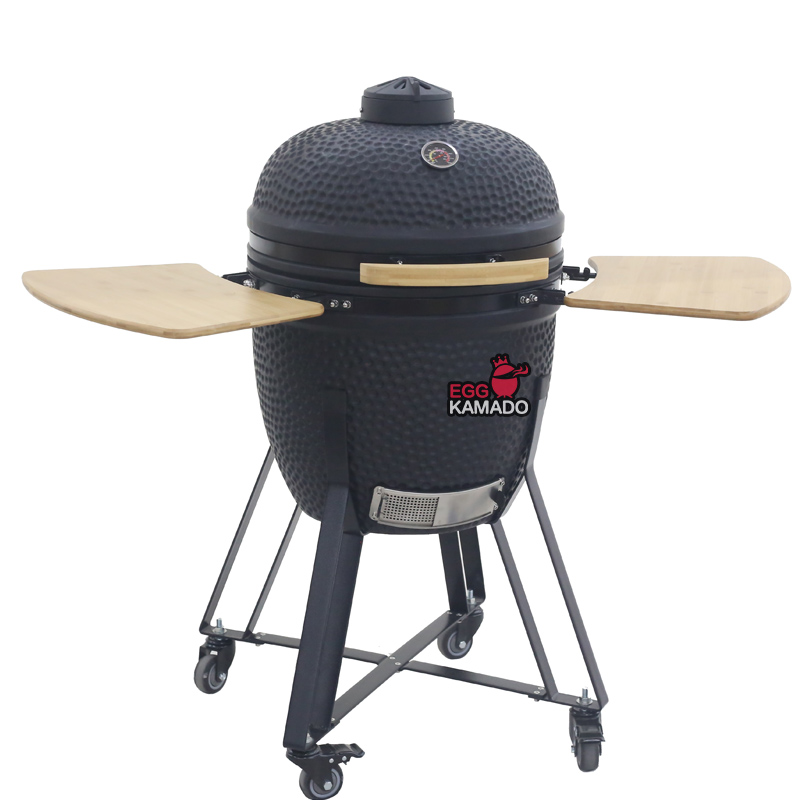
The 22-inch Classic Ceramic Grill is not just a cooking apparatus but a true work of art. Its thoughtful design, meticulous craftsmanship, and top-notch quality make it a must-have for culinary enthusiasts who appreciate the harmony of aesthetics and functionality. Elevate your outdoor cooking experience and indulge in the charms of this remarkable ceramic.
Item No :
IKR225298Size :
22 INCHWidth :
132CMHeight :
90CMGriddle Diameter :
467MMMOQ :
1 PCS
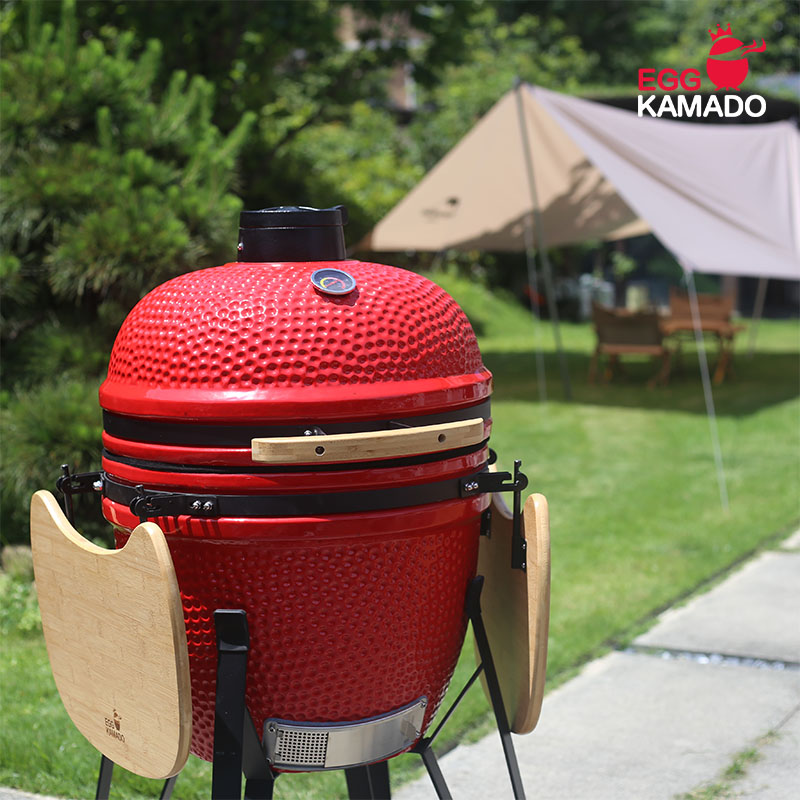
We are a professional manufacturer of ceramic grills from China. Our 22-inch grill is of moderate size, making it suitable for the majority of market demands. We have created a latest version with a sleek matte finish in deep gray, which showcases a vibrant color and offers a soft touch, providing a delightful visual and tactile experience. It is perfect for gatherings in backyard villas and gardens, adding an elegant touch to any occasion.
Product Feature
| Top Vent | Cast Iron |
| Handle | Bamboo |
| Hinge/Stand | Steel+powder coating |
| Grill glaze | Matte glaze |
| Cooking Grid | Stainless steel |
| Grill Dome/Grill Base | Mullite (Resistant to 1000 degree) |
| Main Body Diameter | 55cm/22" |
| Dia of Cooking Grid | 46.7cm/18.4" |
| Assembled Dimension(LxWxH) | 132x77x120cm |
| Operation Height | 90 cm |
| N.W | 91KG |
| G.W | 105KG |
Packing Information
| Package | Cartons |
| Carton Size | 76x63x87cm |
| 20"FT | 46PCS |
| 40"FT | 108PCS |
| 40"HQ | 162PCS |
How to manufacture ceramic kamado grill
The manufacture of ceramic ovens usually includes the following main steps:

1. Design and planning:
Determine the size, shape, function, and exterior design of the kamado grill.
Consider the heating mode, temperature control and other technical requirements.
2. Raw material preparation:
Choose high-quality ceramic raw materials, such as clay, quartz, feldspar, etc.
Some auxiliary materials, such as flux, enhancer, may also be added to improve the performance of ceramic grill.
3. Grill shell making:
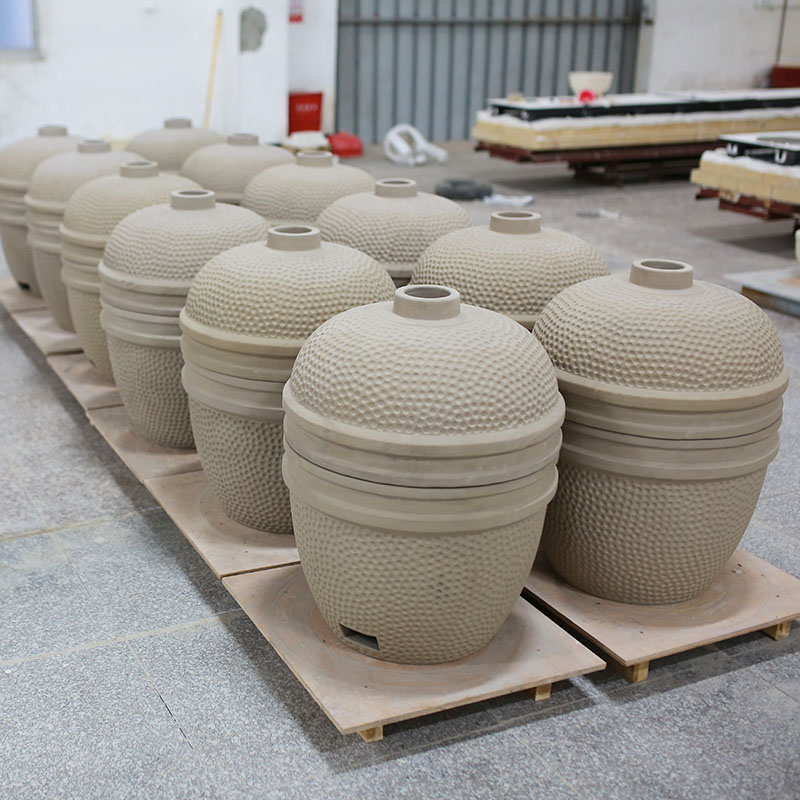
Mix the ceramic raw materials and add water to make a uniform mud.
Through mold molding (such as grouting molding, pressing molding, etc.) or manual molding method, make the various components of the oven, such as furnace body, furnace door, baking tray bracket, etc.
4. Ceramic body Dry:

Dry the forming blank body naturally or put it into the drying room to remove moisture and prevent cracking in the subsequent firing process.
5.Plain burning( Primary firing):
The dried blank body is put into the kiln for initial firing, and the temperature is usually about 1200-1300°C.
Plain burning can enhance the strength and stability of the body.
6. Apply glaze:
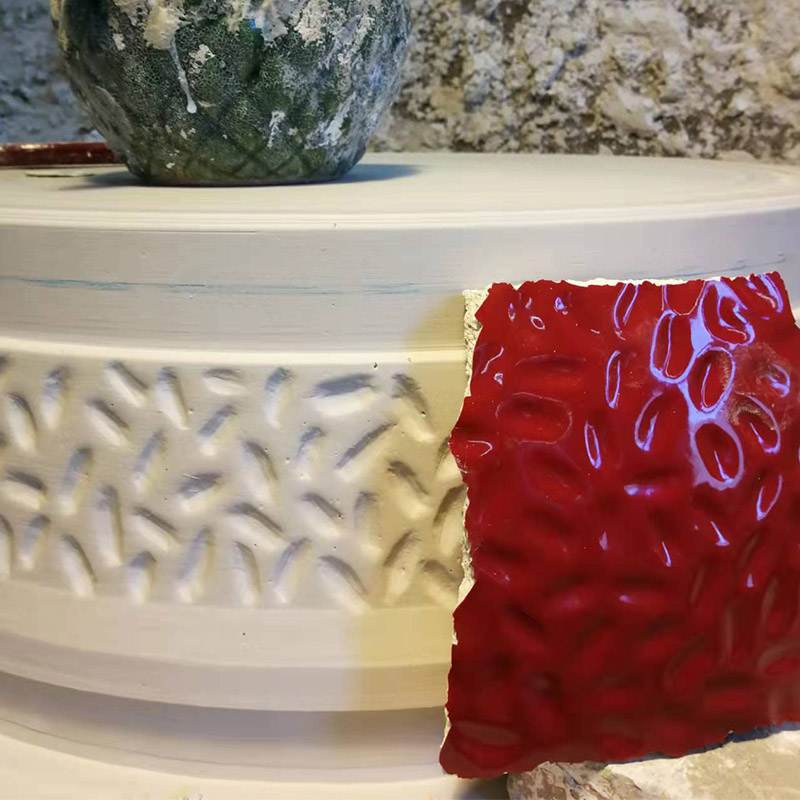
If necessary, glaze can be applied on the fired body. The glaze can provide aesthetic appearance, waterproof and antifouling properties.
The glaze can be applied by dipping glaze, spray glaze, etc.
7. Glaze firing(Secondary firing):
After the glaze, the parts are put into the kiln again for high temperature firing, and the temperature is generally about 1100-1200°C.
During the firing process, the glaze will melt and combine with the blank body, forming a smooth, hard surface.
8. Assembly:
Assemble the fired parts, such as installing the band,bottom vent, top vent,door,thermometer etc.
9. Quality inspection:
Conduct the quality inspection of the assembled ceramic oven, including the appearance inspection, size measurement, temperature test, etc., to ensure that it meets the quality standards and safety requirements.
10. Packaging and shipment:
Qualified ceramic ovens are packaged to protect the product from damage during transportation and storage, and then shipped for sale.
The above are the general steps of the ceramic oven manufacturing, and the actual manufacturing process may vary according to the production process, equipment and product requirements.
How to use ceramic grill?
1. Open all vents.
2. Place recommended number of lump charcoal into the fire box and light starter. Allow 10-15 minutes for charcoal to light.
3. Put cooking grid on the top of the fire ring. Close lid and adjust top vent and draft to allow grill to reach the desired cooking temperature.
4. About 10-20 minutes later, put food on the cooking grid, take care of the inside temperature of the grill, and make some adjustment according to the thermometer.
5. Few minutes later, the food willbe well cooked.
